Installare Windows 11 su un vecchio HP Spectre x360 13t-4000

Utilizzo ancora un vecchio HP Spectre x360 13t-4000 con CPU Intel Core i5 di quinta generazione. Oggi sembra molto obsoleto ma ci sono affezionato poiche’ era il “regalo” (il giveaway) che mi hanno dato ad un Microsoft Build di un po di anni fa, tenutosi a San Francisco; penso l’ultimo prima che si trasferissero a Seattle.

In origine aveva un Hard Disk Sata M.2 da 128 GB; veramente pochi oggi. Ma ora ho deciso di sostituirlo con un Samsung 970 EVO plus da 2 TB con interfaccia PCI. Il passaggio da Sata a PCI mi permette un incremento di velocita’ sul disco sebbene si tratti solo di una PCI gen. 2 x 4. a alcuni test fatti con Sata ho velocita’ di lettura sequenziale da 541 MB/s e scrittura sequenziale da 508 MB/s e letture casuali da 59463 IOPS e scritture casuali da 23896 IOPS (valori presi dal Samsung Magician su Windows 10).

Invece con il 970 Evo Plus e grazie all’interfaccia PCI le prestazioni sono di 1661 MB/s in lettura sequenziale, 1547 MB/s in scrittura sequenziale, 155517 IOPS in lettura casuale e 89355 IOPS in scrittura casuale (valori presi da Samsung Magician su Windows 11). Sembra quindi di aver aumentato le velocita’ di circa 3 volte.

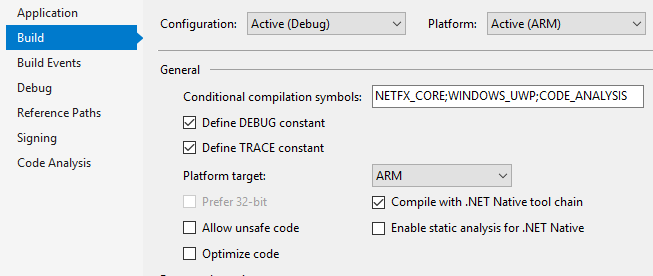
Prima di fare una migrazione da Windows 10 a Windows 11 per conservare tutte le applicazioni ed i tanti dati salvati nel corso degli anni ho voluto provare a fare una installazione da zero di Windows 11 per vedere cosa succedeva. Infatti il PC non e’ compatibile con i vincoli per Windows 11 poiche’ CPU e TPM non rispettano i vincoli stringenti di Windows 11, infatti la PCU e’ di quinta generazione ed il TPM e’ solo 1.2.

Installare Windows 11 da zero

Quindi nel BIOS ho abilitato il secure boot e le porte USB 3.0. Ho preparato usando Rufus una chiavetta USB 3.0 con una installazione standard di Windows 11. Quindi non ho utilizzato nessuno dei trucchi consigliati per forzare l’installazione di Windows 11 che trovate in tanti articoli su Internet.
Gli altri passi da seguire sono i seguenti:

  1. A PC spento, metto la chiavetta USB nella porta USB 3.0 a destra, accendo il PC tenendo il tasto ESC premuto
  2. compare il menu delle opzioni e premo F9 per le opzioni di Boot.
  3. Scelgo l’installazione da EFI file.
  4. Mi viene proposta una solo opzione dove fortunatamente c’e’ la porta USB. La seleziono e mi ritrovo dentro la chiavetta USB.
  5. Per fortuna Windows 11 supporta il EFI boot ma bisogna selezionare il file giusto. Bisogna andare nella cartella efi e poi nella cartella boot e quindi selezionare il file bootx64.efi … e come per magia parte l’installazione di Windows 11.

Aggiornare Windows 10 a Windows 11

In questo caso ho scelto di seguire la procedura proposta da Microsoft. Infatti, Microsoft ha fornito un metodo ufficiale per aggiornare i PC non supportati da Windows 11. Si tratta di una procedura che prevede la modifica del registro per forzare l’aggiornamento tramite file .ISO, sebbene ufficialmente sia richiesto almeno il supporto del TPM 1.2. Ecco i passi da eseguire

  1. Da Windows 10 cliccate su cerca e digitate regedit.
  2. Andate a questo percorso HKEY_LOCAL_MACHINE\SYSTEM\Setup\MoSetup.
    Se non trovate la voce MoSetup cliccate con il tasto destro su Setup e premete su Nuovo e Chiave rinominandola MoSetup.
  3. Nella parte destra cliccate con il tasto destro e premete su Nuovo > Valore DWORD.
  4. Rinominate il valore in AllowUpgradesWithUnsupportedTPMOrCPU.
  5. Impostate il valore su 1.
  6. Seguite la procedura tramite aggiornamento della .ISO di vostra scelta; Tramite Rufus installate una ISO Windows 11 su una chiavetta USB meglio se USB 3.0. Inserite la chiavetta nella porta di destra che e’ USB 3.0 e andate a cercare il file setup.exe e lanciatelo e seguite le istruzioni di installazione.

Password Wallet Sync App per Android

Ho appena pubblicato sul Google Play Store la mia prima App per Android. E’ la versione per smartphone della stessa app che avevo gia’ realizzato per Windows 10. L’ho realizzata utilizzando Xamarin.Forms.

Password Wallet Sync e’ una App che fornisce un posto sicuro nel tuo smartphone per salvare passwords, i codici segreti delle tue carte di credito, di raccolta punti o dei siti web, oppure i codici di licenza dei tuoi prodotti software. Tutte quelle parole e numeri difficili da trovare su file di testo o note, sparsi sul tuo PC o smartphone.

Dispositivi sincronizzati
I dati sono sincronizzati tra dispositivi diversi cosi’ puoi usare la stessa App su diversi computer o smartphone e mantenere i dati sempre aggiornati. Un esempio tipico e’ quello dove usi i tuoi dati segreti sul tuo smartphone e sul tuo PC Windows 10. Ricordo che per Windows 10 esiste la stessa applicazione con lo stesso nome che permette di avere gli stessi dati sempre sincronizzati sul PC e sullo smartphone.

Crittografia avanzata
Tutti i dati sono crittografati con AES a 256 bit. E’ il solo modo per avere i tuoi dati segreti solo per i tuoi occhi.

Cloud Store
I dati sono salvati sul tuo Microsoft OneDrive personale. Bisogna usare lo stesso Account di Microsoft (outlook.com, live.com) su tutti i tuoi dispositivi per garantire la sincronizzazione dei dati.

Autenticazione biometrica
Questa App supporta qualunque metodo di autenticazione biometrica (impronta digitale, riconoscimento facciale, scansione dell’iride) oppure un PIN numerico su quegli smartphone sprovvisti di metodi biometrici.

Utilizzo offline
Puoi usare l’app anche senza connessione a Internet; tutti i dati vengono salvati localmente e quando si dispone di una connessione Internet è possibile caricare i dati su OneDrive.

Utilizzo senza OneDrive
Se non vuoi usare OneDrive puoi usare la tua app sul tuo smartphone localmente ma hai perso qualsiasi funzione di sincronizzazione.

Potete scaricarla subito con il link Password Wallet Sync

Ecco alcune videate del’App per avere un’idea delle funzionalita’ descritte sopra:

splashscreen     signup_profile   passwords_list

password_detail   password_edit  settings

category_manager

Usefull Linux commands

Come visualizzare la versione Linux

Il modo più facile per vedere il nome della distribuzione (e il relativo numero di versione) è abbastanza comune per tutti i tipi di Linux. Aprire un terminale e digitare la stringa seguente:

cat /etc/issue

Il risultato e’ simile a questo:

Ubuntu 14.04.1 LTS

Nel caso dovessi necessitare di ulteriori informazioni, è possibile utilizzare il seguente comando:

cat /etc/*release

Il risultato sarà molto simile a quello della schermata seguente:

[moreno@mbdevnet2 ~]$ cat /etc/*release
CentOS release 6.8 (Final)
LSB_VERSION=base-4.0-amd64:base-4.0-noarch:core-4.0-amd64:core-4.0-noarch:graphics-4.0-amd64:graphics-4.0-noarch:printing-4.0-amd64:printing-4.0-noarch
CentOS release 6.8 (Final)

Come vedere la versione del kernel

La versione della distribuzione è un dato completamente diverso rispetto alla versione del kernel di Linux. Si può facilmente visualizzare il numero di versione aprendo il terminale e digitando il seguente comando:

uname -r

Il risultato e’ :

[moreno@mbdevnet2 ~]$ uname -r
2.6.32-642.15.1.el6.x86_64

The old good top command to find out Linux cpu load

The top program provides a dynamic real-time view of a running system. It can display system summary information as well as a list of tasks currently being managed by the Linux kernel. The top command monitors CPU utilization, process statistics, and memory utilization. The top section contains information related to overall system status – uptime, load average, process counts, CPU status, and utilization statistics for both memory and swap space.

Top command to find out Linux cpu usage

Type the top command:
$ top

Display the utilization of each CPU individually using mpstat

If you are using SMP (Multiple CPU) system, use mpstat command to display the utilization of each CPU individually. It report processors related statistics. For example, type command:
# mpstat
Sample outputs:

[moreno@mbdevnet2 ~]$ mpstat
Linux 2.6.32-642.15.1.el6.x86_64 (mbdevnet2)    10/19/2018      _x86_64_       (4 CPU)

The mpstat command display activities for each available processor, processor 0 being the first one. Global average activities among all processors are also reported. The mpstat command can be used both on SMP and UP machines, but in the latter, only global average activities will be printed.:
# mpstat -P ALL
Sample outputs:

[moreno@mbdevnet2 ~]$ mpstat -P ALL
Linux 2.6.32-642.15.1.el6.x86_64 (mbdevnet2)    10/19/2018      _x86_64_       (4 CPU)
04:58:28 PM  CPU    %usr   %nice    %sys %iowait    %irq   %soft  %steal  %guest   %idle
04:58:28 PM  all   88.34    0.00    0.03    0.02    0.00    0.01    0.00    0.00   11.59
04:58:28 PM    0   88.35    0.00    0.03    0.00    0.00    0.01    0.00    0.00   11.61
04:58:28 PM    1   88.36    0.00    0.04    0.08    0.00    0.01    0.00    0.00   11.52
04:58:28 PM    2   88.34    0.00    0.03    0.00    0.00    0.01    0.00    0.00   11.63
04:58:28 PM    3   88.33    0.00    0.03    0.00    0.00    0.01    0.00    0.00   11.62

How to invite someone to remote assistance in Windows 10

Press windows key + r to open run.

Now, write msra in it and hit enter.

Click on first option which says, invite someone you trust to help you.

In the next screen, There are Two Options visible namely.

save this invitation as a file and send to friend.

Before using remote assistance you must first allow it in your PC, otherwise it will display a message saying “this computer is not set up to send invitations” and will ask you to repair. Its better to first set up remote assistance to avoid this message.

Step 1 – Go to control panel and search remote in search box.

remote-access

Step 2 – Now, click on Allow remote access to your computer as shown above.

Step 3 – Check the box where its written Allow remote assistance to your computer


allow-remote-assistance

Please note that this is not available in Windows 10 Home.

Source:- How to invite someone to remote assistance in Windows 10

Raspberry Pi pin mappings

You need to know which physical header pins on the Raspberry Pi correspond to which pin numbers you access in your code. For example the pin 37 (second from bottom left pin) maps on GPIO 26. There is a very helpful document on the Microsoft web site that gives you the pin mappings, but for convenience I’ve also summarised the information in the following table:

GPIO# Power-on Pull Alternate Functions Header Pin
2 PullUp I2C1 SDA 3
3 PullUp I2C1 SCL 5
4 PullUp 7
5 PullUp 29
6 PullUp 31
7 PullUp SPI0 CS1 26
8 PullUp SPI0 CS0 24
9 PullDown SPI0 MISO 21
10 PullDown SPI0 MOSI 19
11 PullDown SPI0 SCLK 23
12 PullDown 32
13 PullDown 33
16 PullDown SPI1 CS0 36
17 PullDown 11
18 PullDown 12
19 PullDown SPI1 MISO 35
20 PullDown SPI1 MOSI 38
21 PullDown SPI1 SCLK 40
22 PullDown 15
23 PullDown 16
24 PullDown 18
25 PullDown 22
26 PullDown 37
27 PullDown 13
35* PullUp Red Power LED
47* PullUp Green Activity LED

* = Raspberry Pi 2 ONLY. GPIO 35 & 47 are not available on Raspberry Pi 3.

Deploy hints for apps on Windows 10 Iot device

The deploy step to debug an application on Windows 10 Iot device (like Raspberry Pi) needs some attention. The first thing to do is select the “Remote Machine” in debug section of project properties and than set the address to the IP address of your Raspberry Pi, and set the Authentication Mode to “Universal (Unencrypted Protocol”). Next, press F5 on your project. This will install your project onto the Raspberry Pi and start debugging.

When debugging stops the application is again in the device. But if it is a background application it is not running. Should be able to see it in the web management portal under the “Apps Manager” option. You can use this to start and stop an application; configure it to start automatically at boot up, and to uninstall the application.

W10 IOT cannot install Microsoft.NETCore.UniversalWindowsPlatform

I developed a background application for Windows 10 Iot to run on a Raspberry Pi but when I create the new project I get the following Error:

enter image description here

If I manually add the last version of Microsoft.NETCore.UniversalWindowsPlatform package and than I start Build I get a lots of errors.

The temporary fix that works for me is the following :

  • replace in your .csproj file
<ItemGroup>
  <!-- A reference to the entire .Net Framework and Windows SDK are automatically included -->
  <None Include="project.json" />
</ItemGroup>

with

<PropertyGroup>
  <RestoreProjectStyle>PackageReference</RestoreProjectStyle>
</PropertyGroup>
  • and after manually add the Microsoft.NETCore.UniversalWindowsPlatform package from nuget manager

And finally I can Build my app.

How to block automatic driver update in Windows 10

Sometime you need to prevent a Driver from being installed from Windows Update. In some scenario you need to use a specific driver version because the next one can cause problems.

Microsoft provides a downloadable tool to do this. It’s intended for temporarily hiding buggy or otherwise problematic while they don’t work properly on your system.
You can download the “Show or hide updates” troubleshooter for Windows 10 from Microsoft.
When you run this troubleshooter, it will search for available updates and allow you to “hide” them, preventing Windows from automatically installing them. In the future, you can run this troubleshooter again and unhide the updates when you want to install them.

The following troubleshooter is available for download from the Microsoft Download Center:  Download the “Show or hide updates” troubleshooter package now.

To run the troubleshooter, open wushowhide.diagcab, select Next, and then follow the instructions to find the driver updates and seletc those to hide and block.

I try in a real case to use this solution to block automatic update of Radeon Rx Vega 56 graphic card; I want to use only the AMD blockchain beta drivers (version 17.30.2029 released on 8/8/2017. Windows 10 try every time to update to a new version. I hope this solution block the update.

Unable to load clrcompression.dll when debugging on WM10

Develop for Windows 10 Mobile becomes always more hard. I updated an App in the Store and in the previous version I debugged it on Windows 10 Mobile without problem (I used a Lumia 930). But now I continue to get this error :

System.DllNotFoundException: Unable to load DLL ‘clrcompression.dll’: The specified module could not be found. (Exception from HRESULT: 0x8007007E)

After many tests the solution has been to flag “Compile with .NET Native tool chain” in the Build section of Project properties. A fix to remember.

clrcompression_fix

Password Wallet Sync Fluent, an App designed for Fluent Design style

Square44x44Logo.scale-200
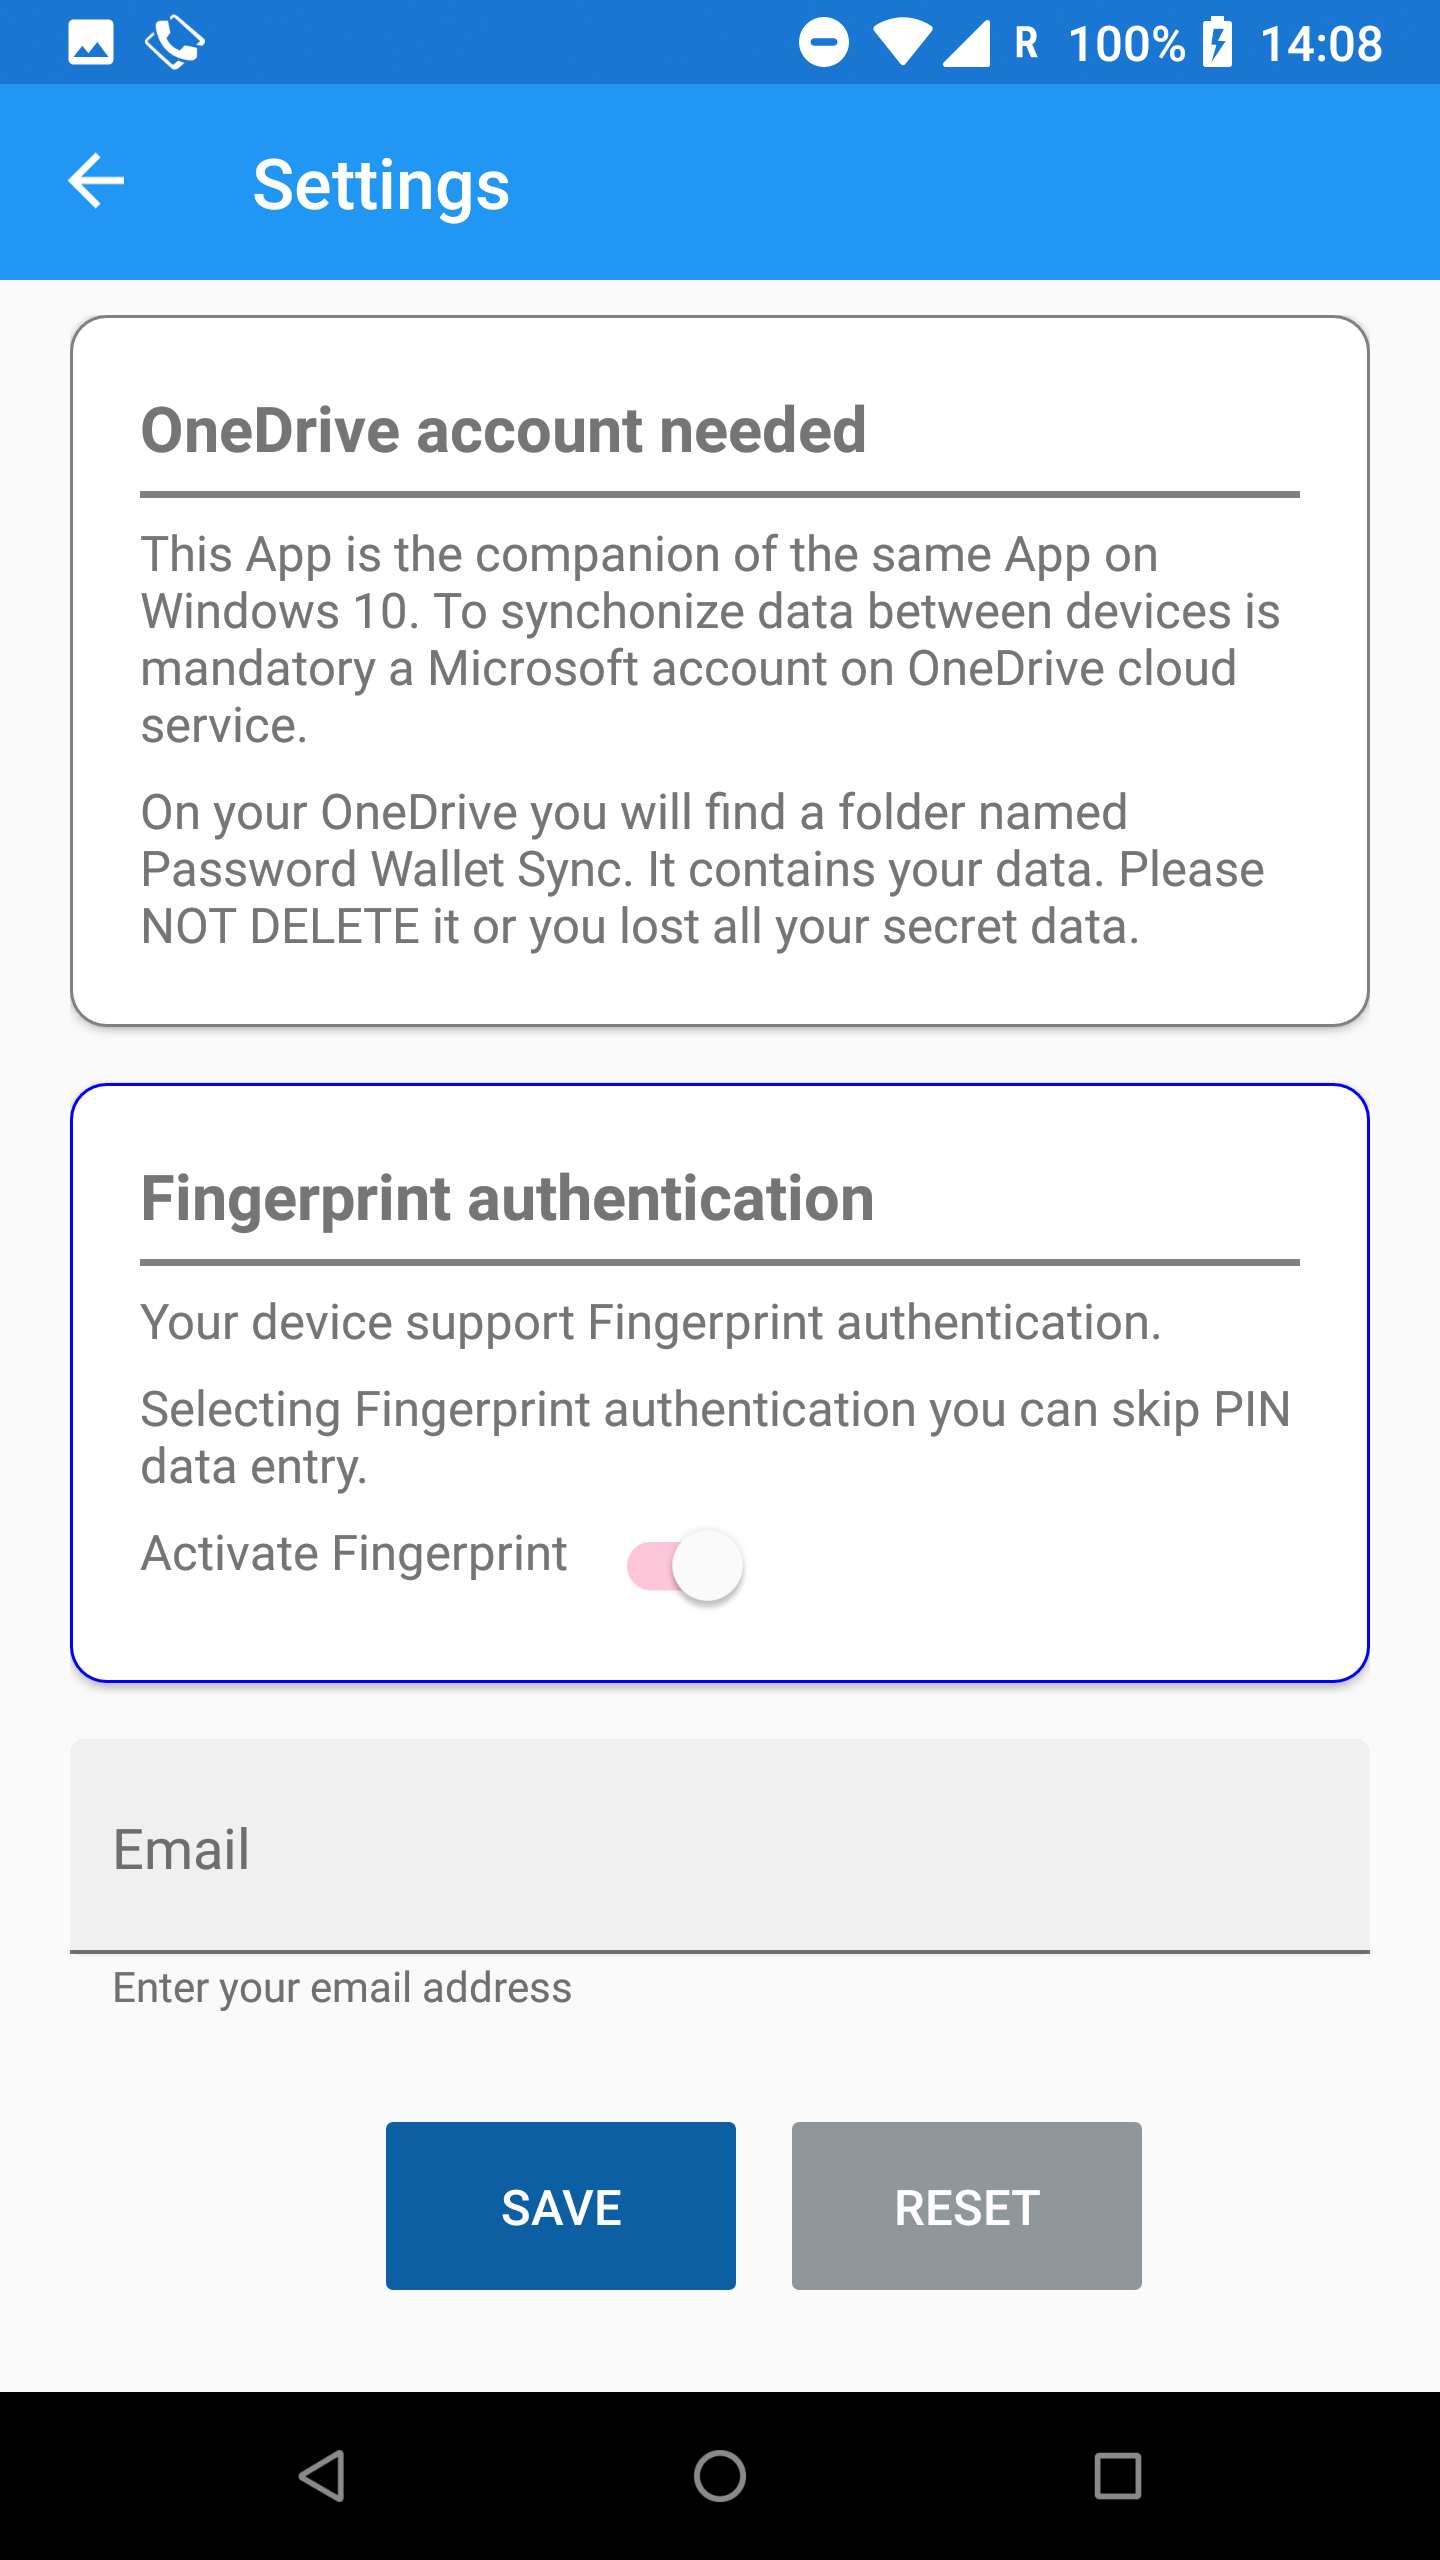
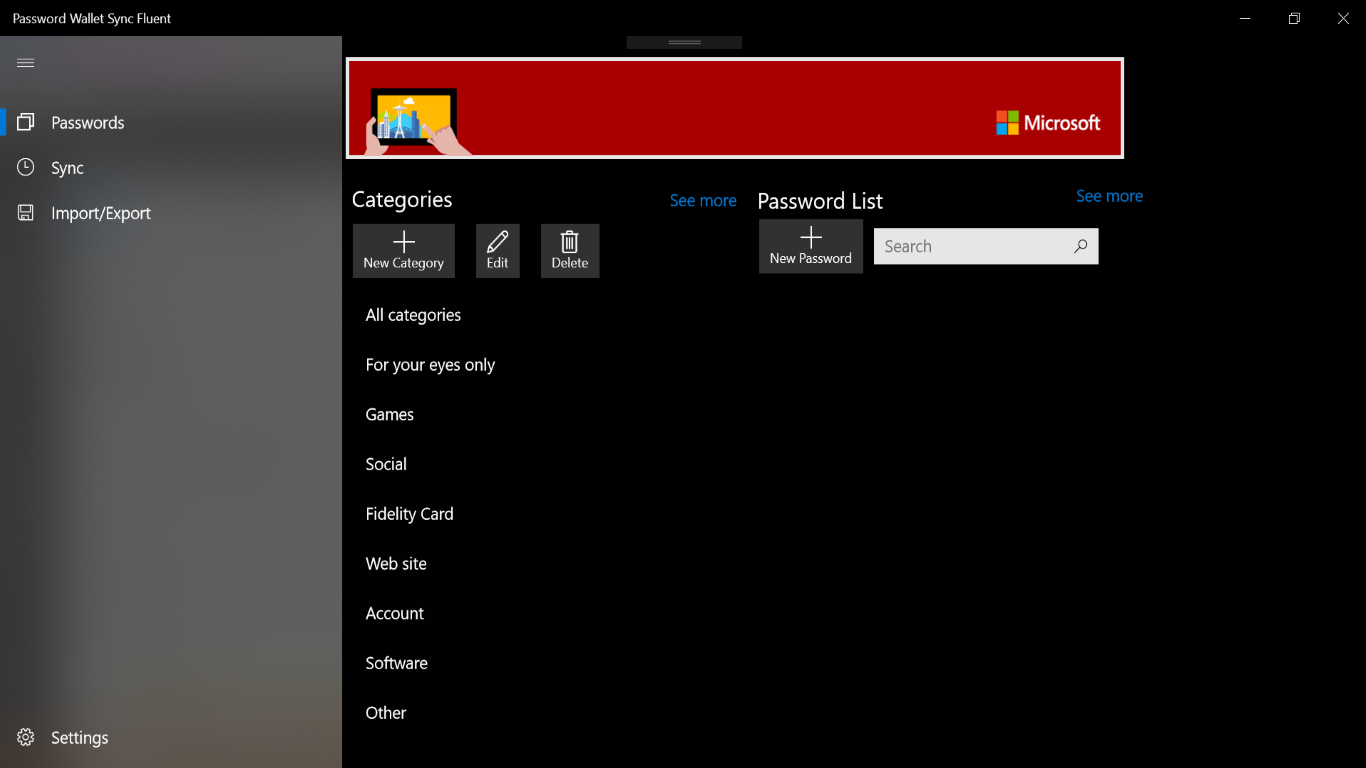
It’s been published in the Microsoft Store the new App : Password Wallet Sync Fluent. It is a special version of the existent Password Wallet Sync for Windows 10 Fall Creators Update only because it uses Fluent Design controls.

Some info about the App:
The App offers a safe place to save your passwords and the secret codes of web sites or software products keys. The data is synchronized on different devices so I can use the same App on multiple computers or tablets and data are always up to date. The data is saved to OneDrive and local file encrypted with AES. It must be used the same Microsoft User Account on all the devices to ensure data synchronization. This App Supports Window Hello and any biometric authentication methods (fingerprint, face or irid scan). The data can be exported to a file in text or in Excel format. For each password you can add photos, useful for example for the barcode of fidelity cards.

App download link in the Store : Password Wallet Sync Fluent

main_page